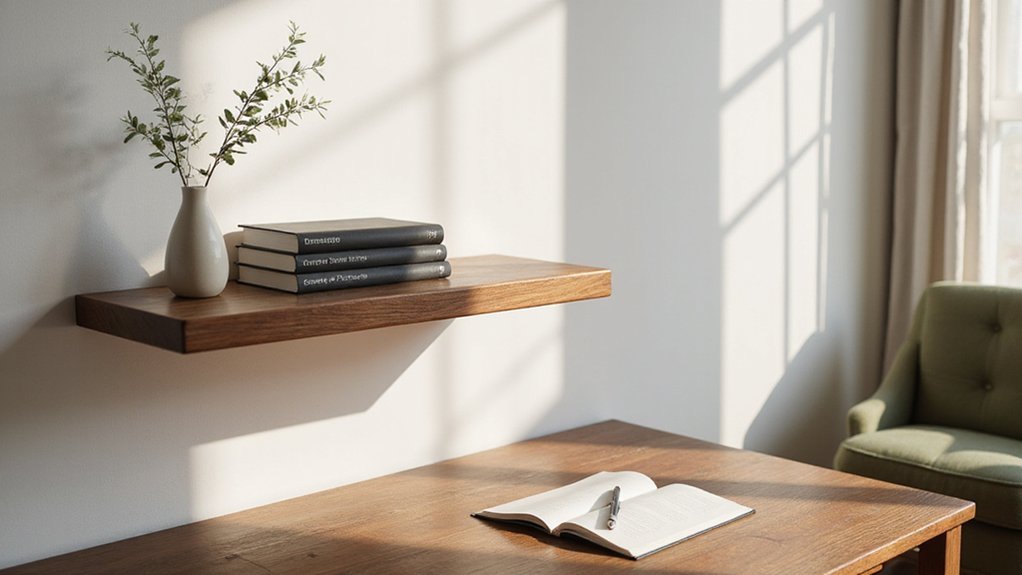
Looking to hang an IKEA Lack shelf securely without causing damage? The key is knowing how to find the right spots on your wall and use the proper tools.
With just a few steps, you can mount your shelf so it stays level and holds up to 25 kilograms.
Keep reading for all the tips and tricks to get it done right.
Gather Tools and Hardware for Your IKEA Lack Shelf
To hang your IKEA Lack shelf, you’ll need several tools and hardware. Since the shelf doesn’t come with mounting screws, you’ll have to pick the right anchors based on your wall type. For drywall, E-Z Ancor Twist-N-Lock anchors rated for 50 pounds are a good choice; opt for higher-capacity anchors if you plan to load the shelf heavily. You’ll also need a drill with a 1/4-inch drill bit, a measuring tape, a 12-inch level, a pencil, and a hammer. Before marking your wall, decide on the desired mounting height to avoid drilling in the wrong spot. For a clean, secure result, drill a pilot hole before inserting the anchor to prevent the drywall from cracking. Consider creative layout inspiration from decorating built-in bookcases to arrange objects on your shelf with visual balance. The bracket is secured with five screws, while the included screws attach the wood shelf afterward. For keeping items on the shelf organized, sort and arrange everything with practical methods that mirror under-sink storage ideas.
Find Wall Studs: or Use Drywall Anchors Instead
To find wall studs for your IKEA Lack shelf, use a stud finder. Standard studs are typically spaced about 16 inches apart, so mark the center of each detected stud with a pencil. When attaching brackets, ensure at least one hole lines up with a stud’s center for maximum support. If the original bracket holes don’t match the stud spacing, drill new holes to fit the studs’ locations. Using a stud finder is a crucial first step to ensure the strongest possible hold before moving on to alternatives. Before drilling, it is also helpful to verify the stud location by tapping the wall for a solid sound.
If you can’t locate a stud where you need support, drywall anchors are an alternative. Heavy-duty toggle bolts work best because they expand behind the drywall, distributing the weight evenly. Pre-drill holes slightly smaller than the anchor’s body, insert the anchor into the wall, then screw through the bracket into the anchor. The side attaching to a stud requires no anchor, but the side lacking a stud needs one. Using this method helps keep your shelf secure even without direct wall support from a stud. Like organizing your kitchen, this approach distributes the weight evenly to prevent sagging and maintain stability.
Mark a Level Placement Line for the Bracket
Start by marking the Level Placement Line for your bracket. Deciding the exact height is crucial; typically, place the bracket at eye level for easy access or according to the specific purpose. Measure from the floor and make a single pencil mark at that height. Use a 12-inch spirit level, pressing the top edge against the wall with your mark just below the level’s edge. Draw a long, light horizontal line along the level’s edge—this becomes your placement guide. For shelving that matches the height of a wide bookcase, consider using a 50 inch wide bookcase as a reference for scale and proportion. One common issue is relying solely on the bubble; switch to a laser line tool if the wall texture causes the bubble to be off or if the surface is uneven. Adjust the level up or down until the bubble is perfectly centered, double-checking for accuracy. A precise, straight line now provides a reliable reference for your bracket placement. Confirm your line is level and aligned before marking the locations of the bracket holes—hold off on drilling until you are certain the line is correct to avoid misalignment. For accurate screw spacing, use a tape measure to mark the second bracket hole 8 7/8 inches from the first mark. To ensure your shelf complements the room, it helps to pair it with creative decorating ideas that balance books with decorative objects. For a clutter-free arrangement, apply the principle of grouping items by function to keep related objects together as you would in a deep drawer.
Drill Pilot Holes and Secure the Metal Bracket
To drill the pilot holes and secure the metal bracket, start by marking the positions along your level line. Select your drill bit based on the type of wall fastener you’re using: for studs, use a small drill bit to create a pilot hole for the screw. For drywall, drill a 1/4-inch hole after marking the pilot hole. Drill four holes for wider shelves, ensuring they are evenly spaced and level. Before drilling, ensure the shelf orientation is correct to avoid an upside down installation, requiring all screws and holes to be adjusted. Using the right wall fastener for your wall type prevents the bracket from pulling loose under the shelf’s weight. Given the weight of an IKEA Lack shelf, consider the weight capacity of your pegboard if mounting nearby, as maximizing strength saves on materials. Insert your chosen wall fasteners gently—tap wall anchors in with a hammer if needed. For toggle bolts, drill a 3/4-inch hole, then push the bolt into the wall until you hear a click, indicating it’s secure. Once the fasteners are in place, position the metal bracket against the wall. Insert the two screws but do not tighten them fully to allow for easy adjustments of the shelf later. Confirm that the bracket is firmly attached and level before tightening the screws completely.
Install the Bracket With Screw Holes Facing Down
To install the bracket correctly, ensure the screw holes face downward before lifting it into place. This orientation allows you to easily attach the wood shelf later, as holes facing up prevent the screws from fitting properly. Properly facing the holes down also helps maintain the bracket’s compatibility with the shelf and supports the intended weight capacity, keeping the shelf stable under load. A similar principle of careful orientation applies when organizing reusable bags to ensure they fit neatly into storage. For long-term pantry success, adopt a consistent storage system to keep similar items grouped and accessible. Using a level tool ensures the bracket is perfectly horizontal before securing it to the wall.
Line up the bracket’s center with your wall marks, making sure the holes point downward. Carefully tilt the bracket into position without rotating it. Use your fingers to start screwing it in, avoiding a drill at this stage to maintain control over the downward-facing holes. Double-check the stud locations before finalizing the placement; verify with the tape measure to confirm consistency. Hold the back plate steady—getting help from a second person can prevent twisting or shifting—and ensure the bracket is level and securely positioned. This foundational step is essential for a strong, stable, and level shelf installation that can support its intended weight reliably.
Anchor the Bracket Without Over-Tightening Screws
To anchor a bracket without over-tightening screws, start by driving the screws only until they are finger-tight. This allows you to pivot the bracket for leveling without applying excessive force. When dealing with a stud anchor, drill a pilot hole first to guide the screw, then tighten just until you feel solid resistance. Use good torque control to prevent damage; overtightening toggle bolts can crush drywall and weaken the hold. Secure the side screws first, leaving the middle one loose for leveling adjustments. Once the bracket is properly leveled, tighten each screw just enough to lock it in place—avoid over-tightening. Let the tension from the locked nuts do the work, rather than applying excessive force with the screws. Stop tightening before you risk damaging the wall. Since the IKEA Lack shelf comes with a bracket but does not include wall attachment screws, you must use appropriate hardware like Easy Anchor drywall anchors to ensure stability. For a strong, damage-free hold, consider using no-drill adhesive strips as an alternative for lightweight shelves.
Slide the Shelf Onto the Bracket and Check Level
Once the bracket is anchored and leveled, you can slide the shelf onto it. Start by aligning the shelf’s internal channels with the bracket arms. Then, tilt the shelf slightly upward and slide it forward until it sits flush against the wall. Push it all the way in to fully conceal the decorative brackets inside. Properly positioning the shelf depth ensures it sits evenly and hides the hardware completely. To further reduce movement, apply multi-use adhesive along the back of the bracket.
Next, verify the level. Place a spirit level on the top surface of the shelf to check if it’s perfectly horizontal. If the shelf tilts, adjust the bracket tilt before securing it permanently. Use shims under the bottom edge of the bracket to pre-tilt the shelf slightly upward, which helps support the weight later. Recheck the level after applying light downward pressure—there should be no wobbling. Ensuring the shelf is level now prevents issues under load later on.
Secure the Shelf From Underneath With Included Screws
To secure the shelf from underneath, tighten the two included screws into the pre-drilled holes. These screws are designed to fit the metal bracket arms and are pre-determined for compatibility with particleboard core shelves. Insert them through the underside holes and turn them clockwise. The screw heads are small and sit flush against the surface, but they do not provide a lot of grip. These short, thin screws mainly prevent the shelf from slipping off the bracket rather than offering complete stability. Once tightened, you will notice about 6 mm of wiggle room, so it’s best to snug them hand-tight first and then give a final turn to lock the shelf in place. This process helps prevent the shelf from rotating or sliding during use without over-tightening and risking damage. When installing a full system, ensuring a clean result often requires careful alignment of all brackets. Applying multi-use adhesive along the back of the bracket and holes ensures the shelf remains firmly secured to the brackets for added stability. For a more organized setup, consider using DIY makeup drawer organizers to keep similar small items neatly arranged nearby.
Tighten All Screws and Inspect Final Alignment
Once you’ve seated the shelf onto the brackets, start by tightening all the screws but keep them finger-tight at first. This allows you to make final adjustments to the bracket positions for accurate alignment. Use a cordless drill at low speed to tighten the screws until the brackets feel loose but are secure enough for leveling. For a more robust shelf design, consider building your own using 2×4 lumber for a sturdier framework.
Next, grab a 12-inch spirit level and verify that each bracket is perfectly level. Adjust the screws as needed to achieve a true horizontal position. Remember to tighten the middle screw last; this secures the bracket firmly against the wall and prevents shifting. After sliding the shelf onto the brackets, double-check the level again to ensure the shelf is even. For shelves attached to drywall, ensure you have used butterfly style anchors to maintain the 11 lb weight capacity. For heavy loads, it is best to locate at least one wall stud for added support.
Once satisfied with the alignment, fully tighten all screws. Avoid over-tightening, especially toggle bolts, to protect the drywall from damage. Finally, gently shake the shelf to test its stability and look for any wobbling or gaps. Confirm the shelf is fully seated with no misalignment, and make sure all screw tightenings and adjustments are precise for a secure, level installation. Think of each bracket as a small rotating platform that should be adjusted for precise horizontal balance before final tightening.
Respect the 25 Kg Total and 3 Kg per Shelf Limit
Understanding weight limits for your shelves is essential to avoid dangerous collapses. For a horizontally hung shelf unit that measures 74 inches, do not exceed a total weight of 25 kilograms. This limit ensures the entire structure remains stable and safe. If you hang the same unit vertically, each shelf should only hold up to 3 kilograms to prevent strain on the material. Wall type plays a crucial role: drywall can typically support only about 5 kilograms per shelf, regardless of testing results. Always distribute weight evenly across the shelf to prevent stress points—never load everything at the front edge, which can cause tipping or collapse. When selecting decorative items, avoid heavy ceramics or large books, especially for vertical setups, as they can overload shelves more easily. If you plan to load near the maximum weight, always secure brackets into wall studs for increased support; otherwise, stay within the 5-kilogram limit for drywall installations. Ignoring these weight restrictions increases the risk of bracket failure and shelf failure, potentially leading to a dangerous fall.